How to manage multiple YouTube channels without mix-ups
Organize multiple YouTube channels with an account map, separate publishing queues, clear file names, and a first-post verification routine.
On this page
What you’ll take away
- Map each brand to its actual YouTube channel before connecting tools.
- Separate account access from publishing destinations.
- Use a small first-post check when adding another channel or group.
Managing several YouTube channels becomes difficult when the same account names, browser tabs, and video folders stop telling you where a post belongs. A simple account map and a repeated destination check can prevent much of that confusion.
This guide covers publishing organization. It does not require moving channel ownership or giving everyone access to every brand.
Start with a channel map
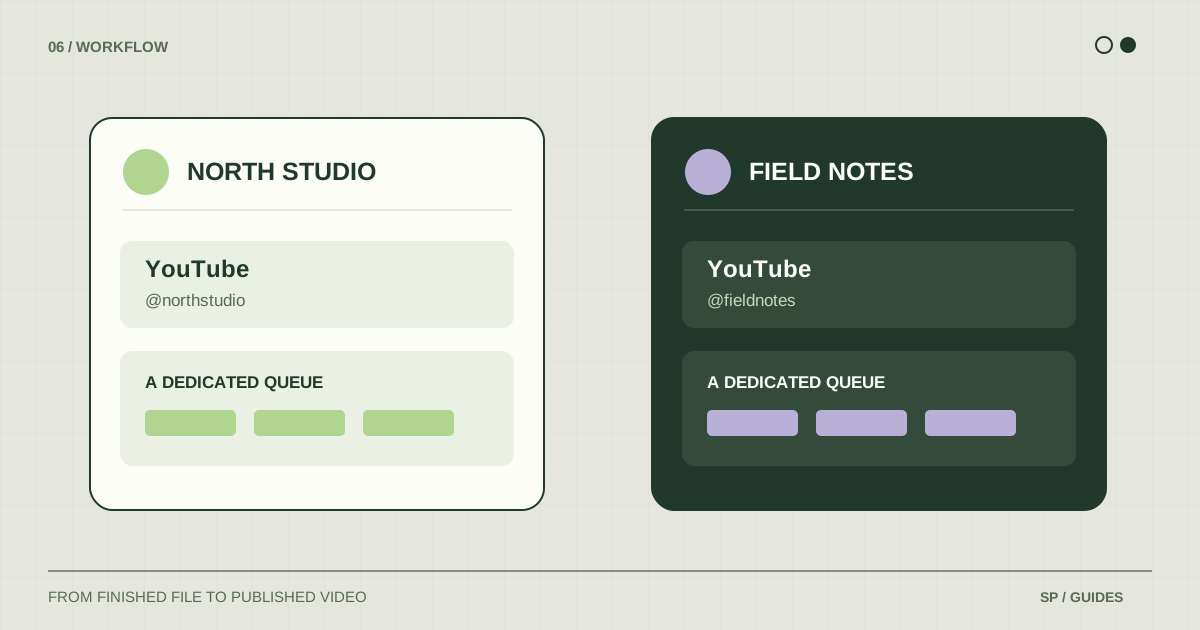
List the channels you actually publish to. Record the public channel URL or handle, the person responsible for publishing, and the location of its final exports. Use the channel’s real identity instead of relying only on a label such as “client two”.
| Brand | Destination to verify | File prefix | Publishing record |
|---|---|---|---|
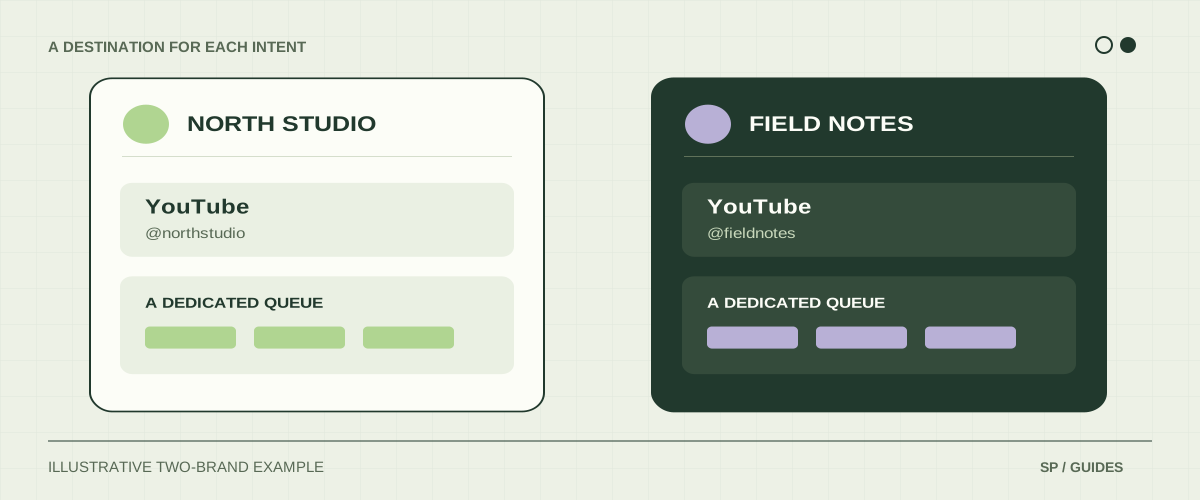
| North Studio | YouTube handle for North Studio | north- | North Studio queue and links |
| North Studio | TikTok handle for North Studio | north- | Separate TikTok result |
| Field Notes | YouTube handle for Field Notes | field- | Field Notes queue and links |
The names above are examples. Replace them with your real accounts and links. If two channels share a similar name, the handle or URL is the useful distinction.
Keep the map somewhere you can open during publication. It should take less time to verify the destination than to recover from sending a video to the wrong account.
Separate access from publication
YouTube lets you switch between channels associated with a Google Account. YouTube Studio also supports channel permissions for giving other people particular access without sharing the account password. Review the official role descriptions before deciding who should publish.
Access inside Studio and permission for an external publishing connection are separate things to verify. Do not assume that being able to view a channel in Studio guarantees every third-party integration will offer it during authorization.
Connect accounts deliberately and check the resulting channel identity in the tool. If the wrong account appears, resolve the connection before uploading content for that brand.
Create a separate publishing path per brand
Give each brand a final-export folder and a recognizable filename prefix. For example, north-lamp-demo-v02.mp4 is easier to route than final-final-2.mp4.
Prepare its title, description, and destination together. Avoid a shared document where one caption can be copied without the brand context that belongs to it. Even when two brands discuss the same subject, their examples, claims, and calls to action may differ.
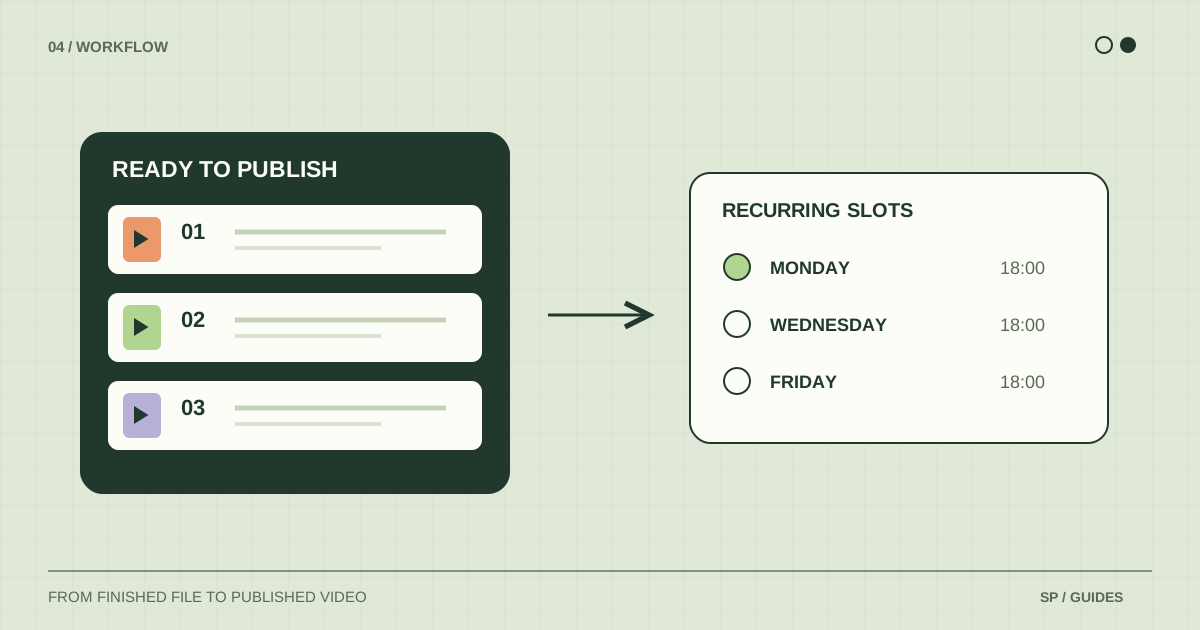
In ShortsPlanner, review connected accounts, then use queue filters to focus on the destination you are preparing. Configure a recurring schedule for the account or group that will receive those posts. Keep that destination consistent from preparation to publication.
Use groups only for intended shared destinations
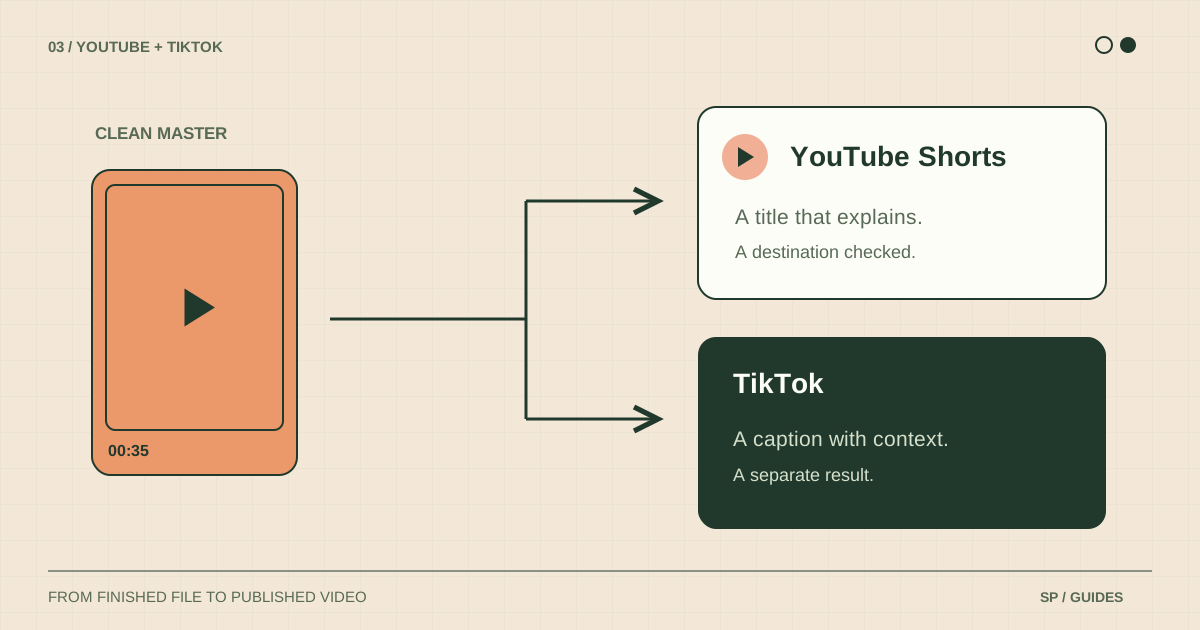
A group is useful when selected accounts should participate in the same publishing workflow. For example, a brand’s YouTube and TikTok accounts can be reviewed together when preparing a suitable cross-platform video.
Before selecting a group, check every member. Do not use a broad group as a convenient substitute for deciding which account needs the video. Keep unrelated clients or brands in distinct publication paths.
If the platforms need different wording, review the platform-specific title and description fields. The cross-platform guide shows how one file can have two distinct publishing contexts.
Verify the first post before filling the queue
For every newly connected destination, prepare one video you can easily recognize. Verify the selected account, its schedule, and the platform options before submission. Choose a time when you can review the result.
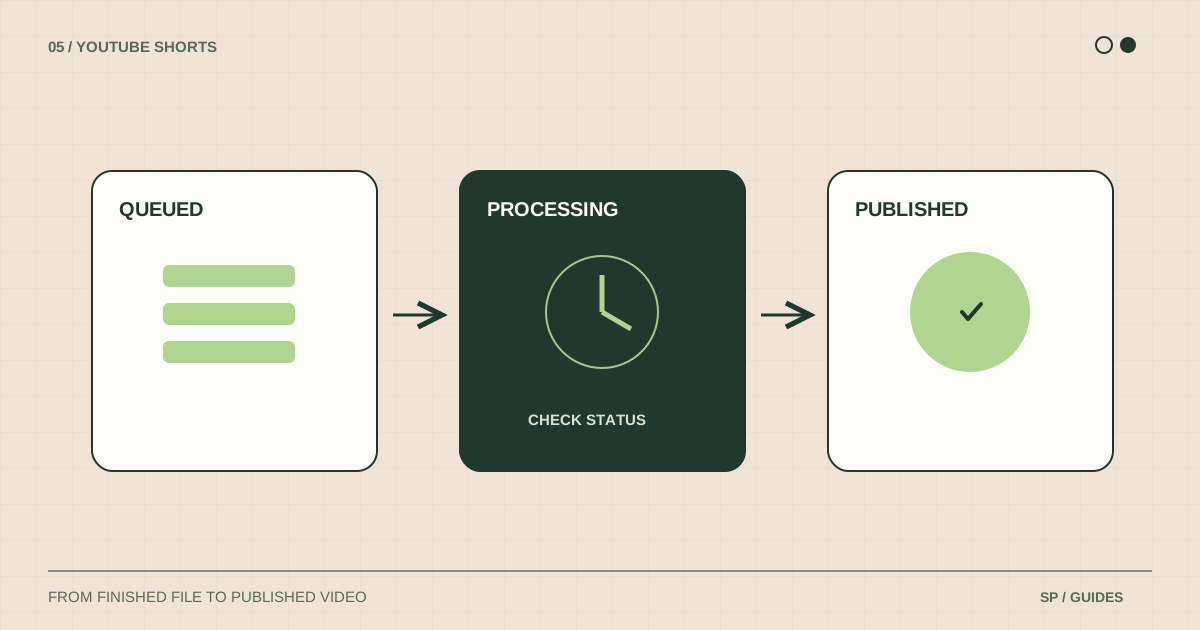
After the publication attempt, open the destination platform. Check the channel identity, actual visibility, title, and resulting link. Only then prepare a larger series for that destination.
This is an operational check, not a public experiment with somebody else’s content. Use a video and visibility setting appropriate to the account, with whatever approval your own publishing process requires.
Keep exceptions visible
When an account needs reconnection or a post shows an error, note the affected destination. Do not treat the entire week as successful just because another account published.
For shared posts, keep a separate link or issue for each platform. During your weekly queue review, identify which brand has ready files, which has upcoming slots, and which needs attention.
If something went to the wrong place or did not appear, use the publishing troubleshooting guide before retrying.
Frequently asked questions
Do I need a separate Google login for every channel?
Not always; Google provides channel switching and different account arrangements. Use the official channel documentation to check your setup. Your publishing map should still distinguish the channels even when their login is shared.
Does a publishing group replace YouTube permissions?
No. A group organizes destinations inside the publishing tool. It does not grant ownership or access rights on YouTube.
Can I reuse one video across brands?
Only when the content and its claims make sense for each brand. Review the destination and text independently, and do not assume that a shared file means the same publication should go everywhere.
Sources & further reading
Platform rules change. These official resources complement the examples and workflows in this guide.
We build ShortsPlanner to organize and publish videos you have already created. Example schedules are illustrative and can be adapted to your work.
First published